Painting Miniatures: Tips for New Tabletop Gamers
27 June 2025
So, you've just picked up your first set of miniatures for your favorite tabletop game—maybe it’s Warhammer, Dungeons & Dragons, or another awesome title—and now you’re staring at these tiny, gray plastic figures wondering, “How the heck do I bring these to life?” Don’t worry. We’ve all been there, paintbrush in hand, heart full of ambition, but not a clue where to start.
Painting miniatures might seem intimidating at first, but with a bit of patience and a handful of tips, it’s actually one of the most rewarding parts of the tabletop gaming hobby. It’s a relaxing, creative process that can make your games look and feel way more immersive—and let’s be honest, it’s kinda cool to show off your hand-painted army or adventuring party.
In this guide, I’m going to walk you through everything you need to know to get started with painting miniatures—without overwhelming you. Let’s do this!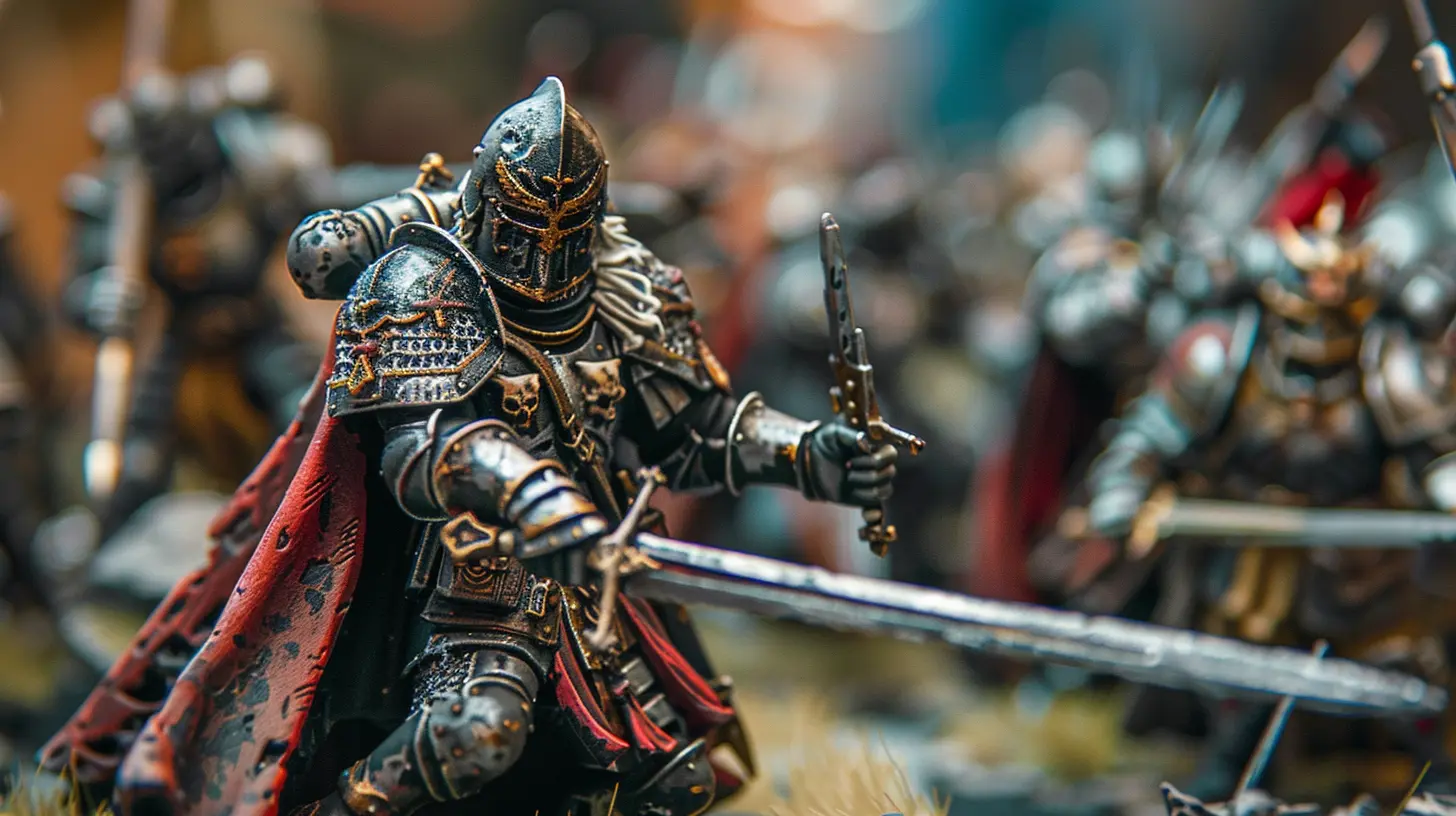
Why Painting Miniatures Matters
Sure, miniatures come unpainted and they still work that way. But painting adds character and depth. It turns generic figures into heroes, monsters into villains, and your game table into something out of a fantasy novel.Plus, painting is a hobby in its own right. If you deal with stress (who doesn’t?), painting can be super therapeutic. There’s something incredibly satisfying about transforming a plain piece of plastic into a colorful, battle-worn champion.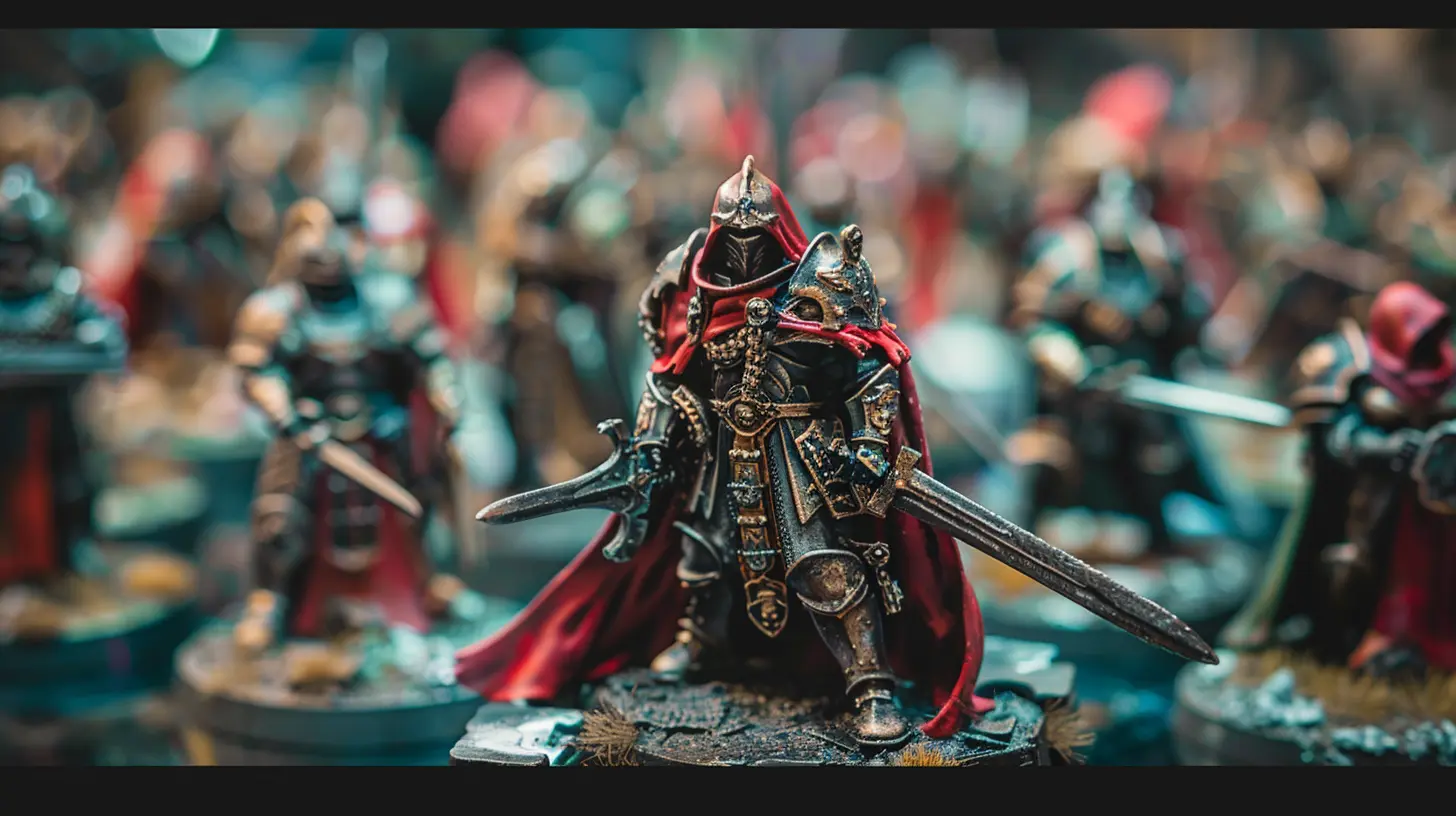
What You Need to Get Started
Before you dive into the deep end, you’re gonna need to gather your tools. Don’t worry, you don’t need a suitcase full of gear—just a few essentials.1. Miniatures (Duh)
Any unpainted minis will do. If you’re totally new, grab a cheap set or some extras you won’t mind messing up while you’re learning.2. Paint Brushes
You don’t need a hundred brushes—just a few basic ones:- A larger brush for base coating
- A medium brush for details
- A fine detail brush for those teeny-tiny spots
Choosing synthetic brushes is okay for beginners, and you can always upgrade later.
3. Acrylic Paints
Miniature paints are usually acrylic. They’re water-based, easy to clean, and safe. A few good starter brands include Citadel, Vallejo, or Army Painter.Start with a basic color set—you don’t need every shade in the rainbow. Think flesh tones, metallics, black, white, and a few primary colors.
4. Primer
Priming your miniature helps the paint stick and gives you a clean starting surface. You can find spray-on or brush-on primers in black, white, or gray.5. Water Cup & Paper Towels
Yes, you're gonna need water to clean your brushes between colors. And paper towels? They’re your best friend when it comes to wiping off excess paint or fixing minor screw-ups.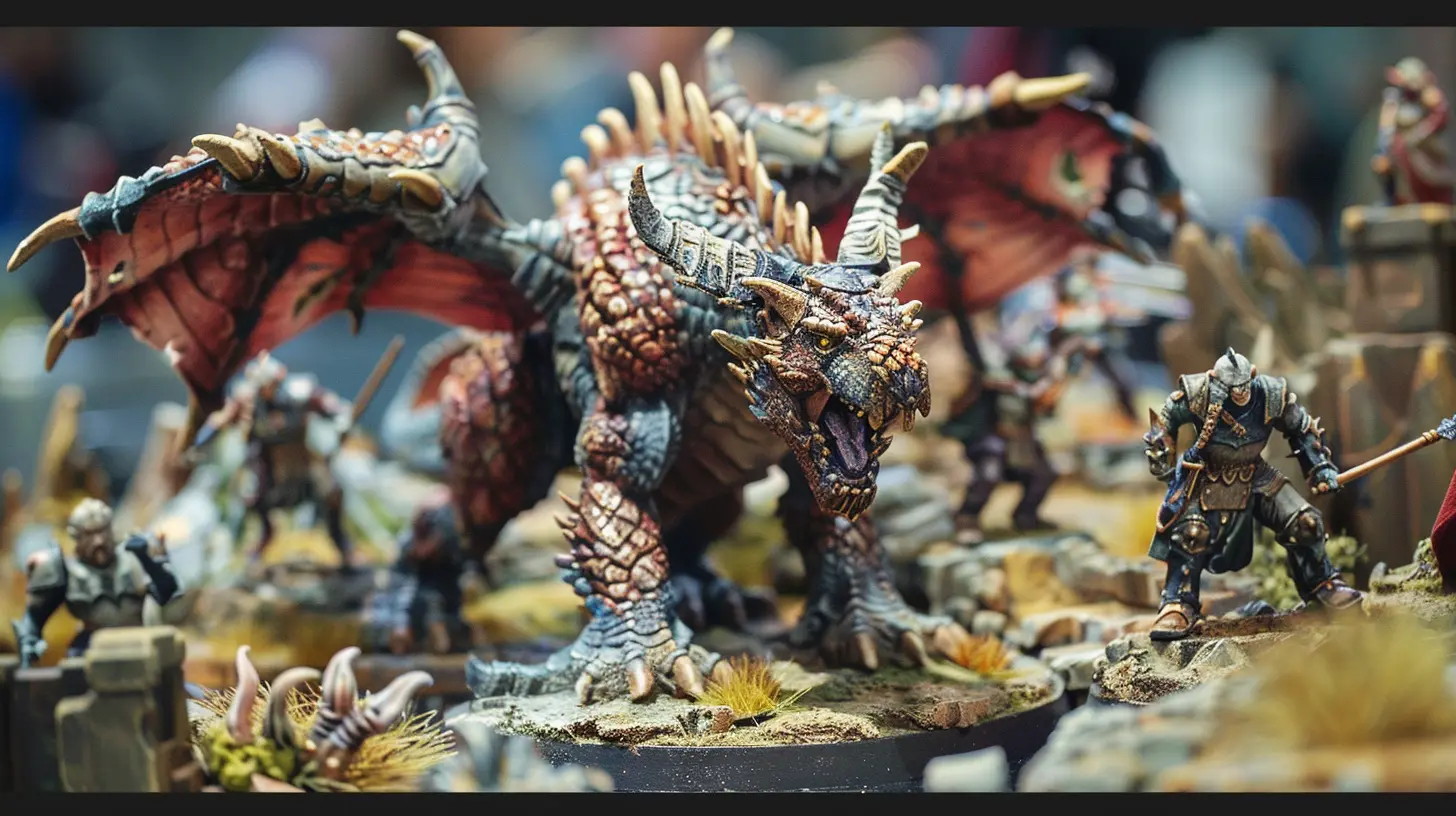
Step-by-Step: Painting Your First Miniature
Okay, you've got your tools ready. Now what? Here’s how to actually paint your mini—from start to finish—without losing your mind or your patience.Step 1: Prep the Miniature
Before you even think about paint, check your mini for mold lines or bits of extra plastic. These usually show up along the seams and can be gently trimmed away with a hobby knife.Then, give the mini a quick wash in warm, soapy water. This gets rid of any oils or residue that might mess with your paint.
Step 2: Prime Time
Priming gives the paint something to grip. Spray primer is easy, but make sure you do it in a well-ventilated area or outside. Hold the mini a few inches away and spray in short bursts. Don’t go too heavy or you’ll lose all that delicious detail.Not sure which color to use? Here’s a quick cheat:
- White primer = brighter, more vibrant colors
- Black primer = darker, moodier tones (and it's more forgiving)
- Gray primer = a nice middle ground
Step 3: Base Coating
Alright, here’s where the magic begins. Start applying your base colors with your medium brush. Thin your paint with a bit of water—not too much, just enough so it flows nicely.Don’t freak out if the first coat looks patchy. That’s totally normal. Two thin coats are better than one thick one that hides your details.
Step 4: Add Some Depth (Shading & Washing)
This is where your mini starts to pop. Using a wash (a thinned-down dark paint), you can shade the recesses and bring out the details.Just take your wash and let it flow into the cracks and crevices. It’s like magic—suddenly your miniature goes from “meh” to “Whoa!”
You can buy ready-made washes or make your own with paint and water. Either way, a dark wash—like black or brown—goes a long way.
Step 5: Highlighting
Now that the shadows are in place, let’s hit those edges with a lighter color to make everything stand out. This part’s called dry brushing.Here’s how:
- Get a bit of lighter paint on your brush.
- Wipe most of it off on a paper towel.
- Lightly drag the brush over the raised areas.
Boom—fancy-looking highlights in seconds!
Step 6: Details Galore
Now you can start picking out the smaller features—eyes, weapons, belts, pouches, you name it. Use your fine detail brush and take your time.This is where patience really pays off. Don’t rush it, and don’t beat yourself up if your first eyes look a little... googly. You’ll get better, promise.
Step 7: Seal It Up
Once your masterpiece is dry, it’s a good idea to seal it with a matte varnish. This protects the paint and prevents chipping during gameplay.Use a spray varnish for even coverage. Just like with primer, spray in short bursts and let it dry completely.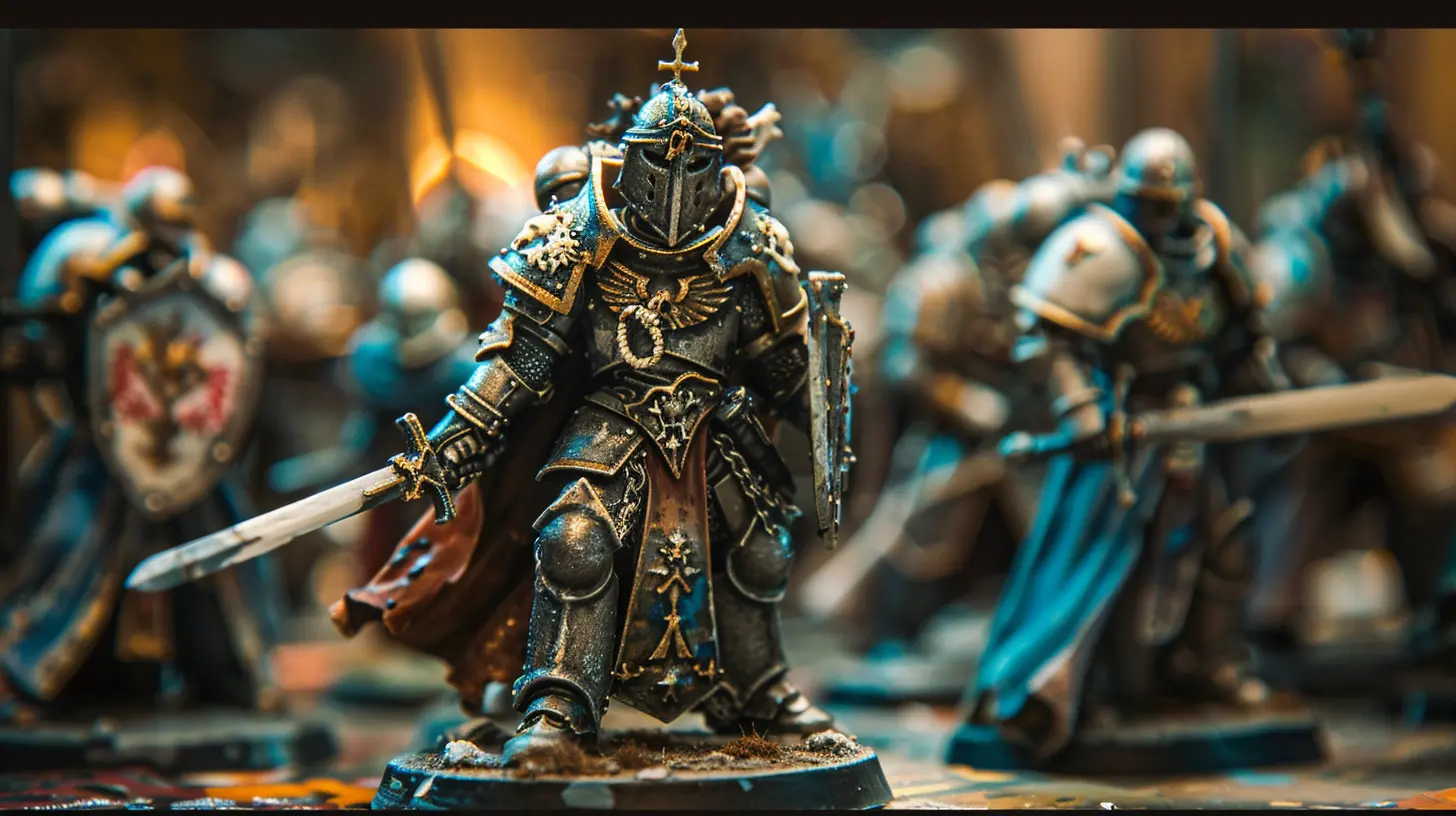
Pro Tips for Newbies
Want to avoid the most common beginner mistakes? I’ve got your back.Don’t Overload Your Brush
Seriously, this is a big one. Too much paint = blob city. Always wipe off a bit before touching the mini.Thin Your Paint
Thick paint kills detail. Keep it smooth and fluid by adding a drop or two of water (or acrylic thinner).Embrace Mistakes
You’re gonna mess up. We all do. The good news? You can always paint over it. Mini painting isn’t permanent until you seal it, so experiment freely.Start Simple
Pick a figure with clear lines and big details—like an orc or space marine. Leave the intricate elves and dragons for later.Building Your Painting Setup
You don’t need a fancy studio. A small desk, some good lighting, and a comfy chair are plenty. But if you’re looking to level up your space, here are some ideas:- Use a daylight lamp to see true colors.
- Consider a wet palette to keep your paints from drying out too fast.
- Grab a painting handle to hold your mini (or just use a wine cork and some sticky tack!).
Taking It Further: Leveling Up Your Skills
Once you’ve got the basics down, you can start exploring more advanced techniques like:- Glazing (layering translucent paint for smooth blends)
- Layering (stacking highlights for extra depth)
- Non-metallic metal (painting metallic effects without actual metallic paint)
There are tons of YouTube tutorials and online communities filled with helpful folks ready to give advice, feedback, or just geek out over your latest paint job.
Final Thoughts
Painting miniatures isn’t about being perfect—it’s about having fun and making your game world your own. Whether your first mini ends up looking like a masterpiece or a mutant, it’s a step on the journey.And trust me, the more you paint, the better you'll get. So grab that brush, cue up your favorite playlist, and start transforming those gray little figures into legends.
You’ve got this.
all images in this post were generated using AI tools
Category:
Tabletop GamesAuthor:

Leandro Banks
Discussion
rate this article
2 comments
Harmony McClary
This article effectively demystifies the miniature painting process for newcomers, providing practical tips that enhance both skill and enjoyment. Emphasizing patience and experimentation fosters creativity, encouraging novice hobbyists to embrace their artistic journey while enhancing their gaming experience.
September 3, 2025 at 3:20 PM

Leandro Banks
Thank you for your thoughtful feedback! I'm glad to hear the article resonates with newcomers and inspires creativity in their miniature painting journey. Happy painting!
Phoenix Ortiz
Great article! I’m intrigued by the world of miniature painting, especially the creative techniques you’ve shared. As a newcomer to tabletop gaming, I can’t wait to experiment with colors and styles. It feels like a blend of art and strategy—what an exciting way to enhance the gaming experience!
July 2, 2025 at 3:59 AM

Leandro Banks
Thank you! I'm glad you enjoyed the article and found it helpful. Have fun experimenting with your painting techniques—it's a fantastic way to express your creativity in tabletop gaming!

