How to Optimize Graphics Settings Without Losing FPS
23 October 2025
So, you just fired up that brand-new AAA title you've been dying to play, and your rig’s fans immediately sound like a rocket about to take off. The visuals? Stunning. The performance? Not so much. Choppy framerates, stutters, lag—you name it. Here's the real kicker: you don't have to sacrifice visual quality entirely to keep your game running smooth as butter.
Optimizing graphics settings is a bit of an art mixed with a sprinkle of science. It's all about squeezing out every drop of performance without making your game look like something straight out of 2005. Let’s dive into how you can get the best of both worlds—eye-candy and buttery FPS—without needing a PhD in gaming hardware.
Why Graphics Optimization Even Matters
Before we start tweaking sliders left and right, let's understand why this even matters.Your graphics card (GPU) can only handle so much. When you crank up every setting to ultra, you’re basically asking it to render the Mona Lisa 60 times a second. It’s exhausting! On the flip side, dialing everything down ruins the experience, especially if you’re playing visually rich games like Cyberpunk 2077, Elden Ring, or Starfield.
Optimizing means finding that sweet middle ground—gorgeous visuals with frame rates stable enough so it doesn’t feel like you’re gaming underwater.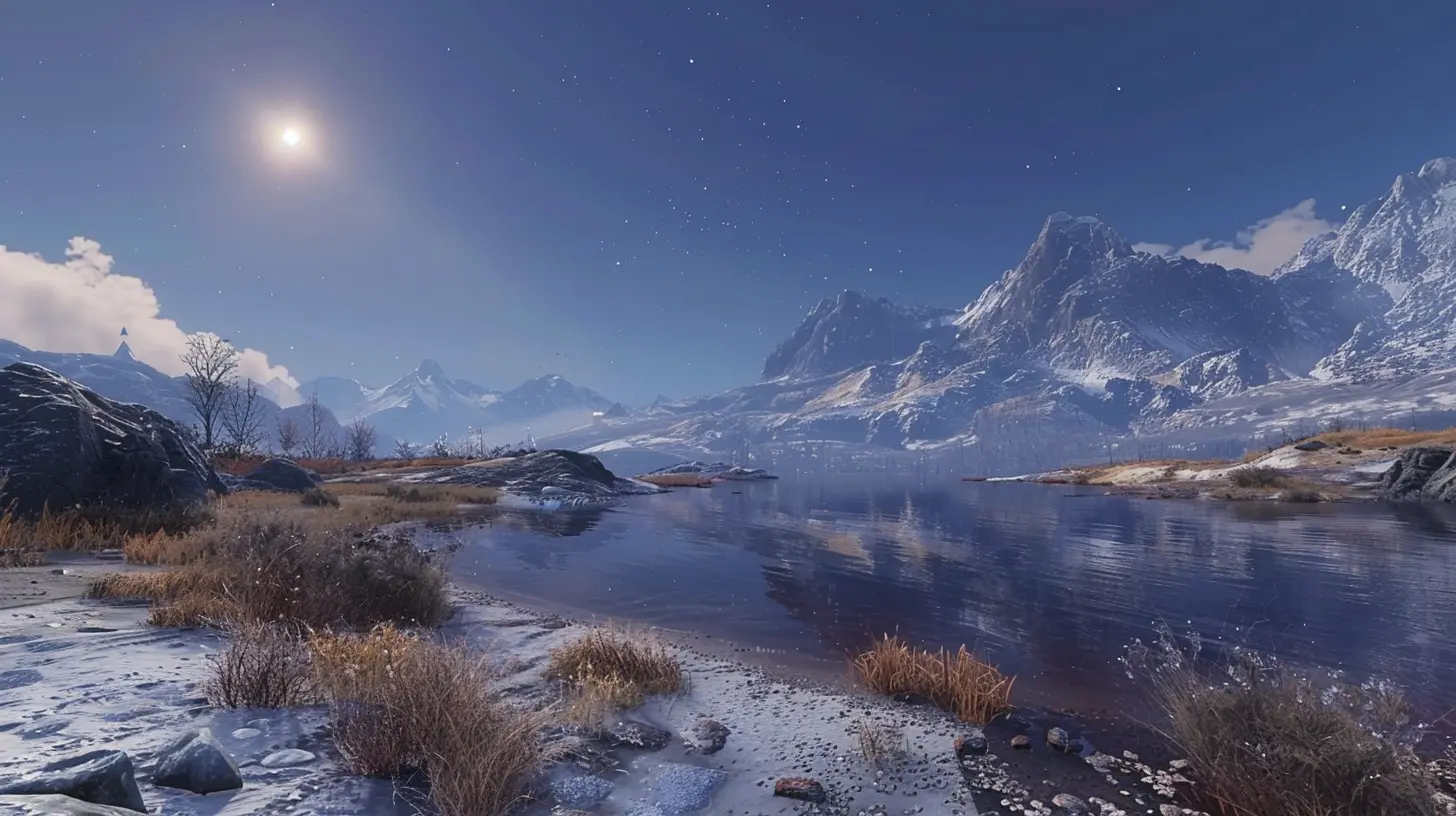
Step 1: Know Your Hardware
Let’s be real—you're not going to get 240 FPS with ray tracing on a 10-year-old GPU. Before you even touch the settings, you’ve got to know what kind of horsepower you’re working with.How to Check Your Specs:
- GPU: Right-click on your desktop > Display Settings > Advanced Display Settings > Display Adapter Properties.- CPU & RAM: Press `Ctrl+Shift+Esc` > Performance tab.
Once you know your specs, you can look up benchmarking data online for your specific setup and game. This gives you a baseline idea of what settings your rig can handle.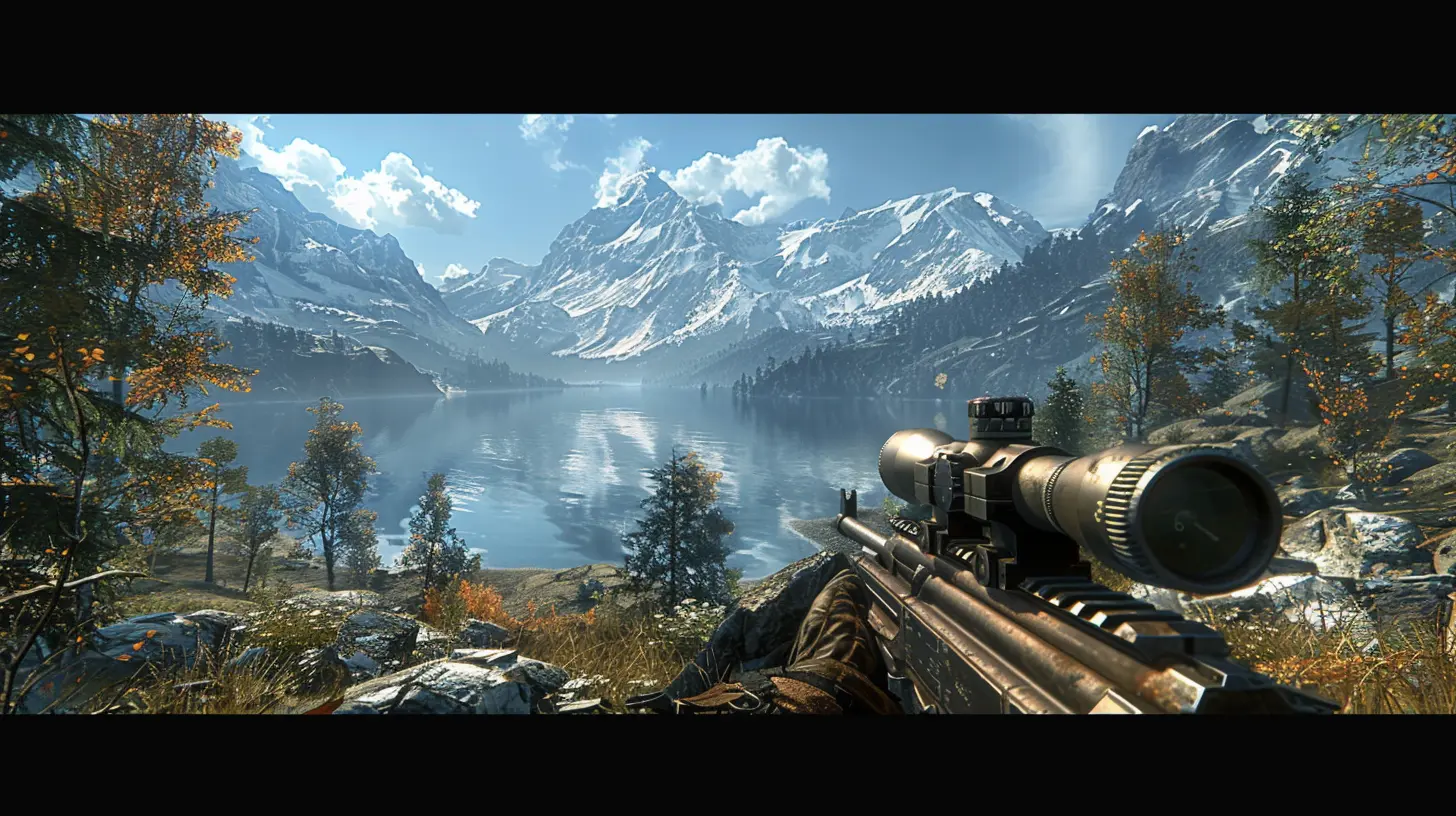
Step 2: Start with Presets, Then Tweak
Most games offer graphical presets like Low, Medium, High, and Ultra. Start with one that matches your system's capabilities. If you’re unsure, Medium is usually the safest bet.Then test! Jump into actual gameplay (not just the menu!) and see how it feels. Are there stutters, lag spikes, or frame drops? That’s your cue to begin fine-tuning.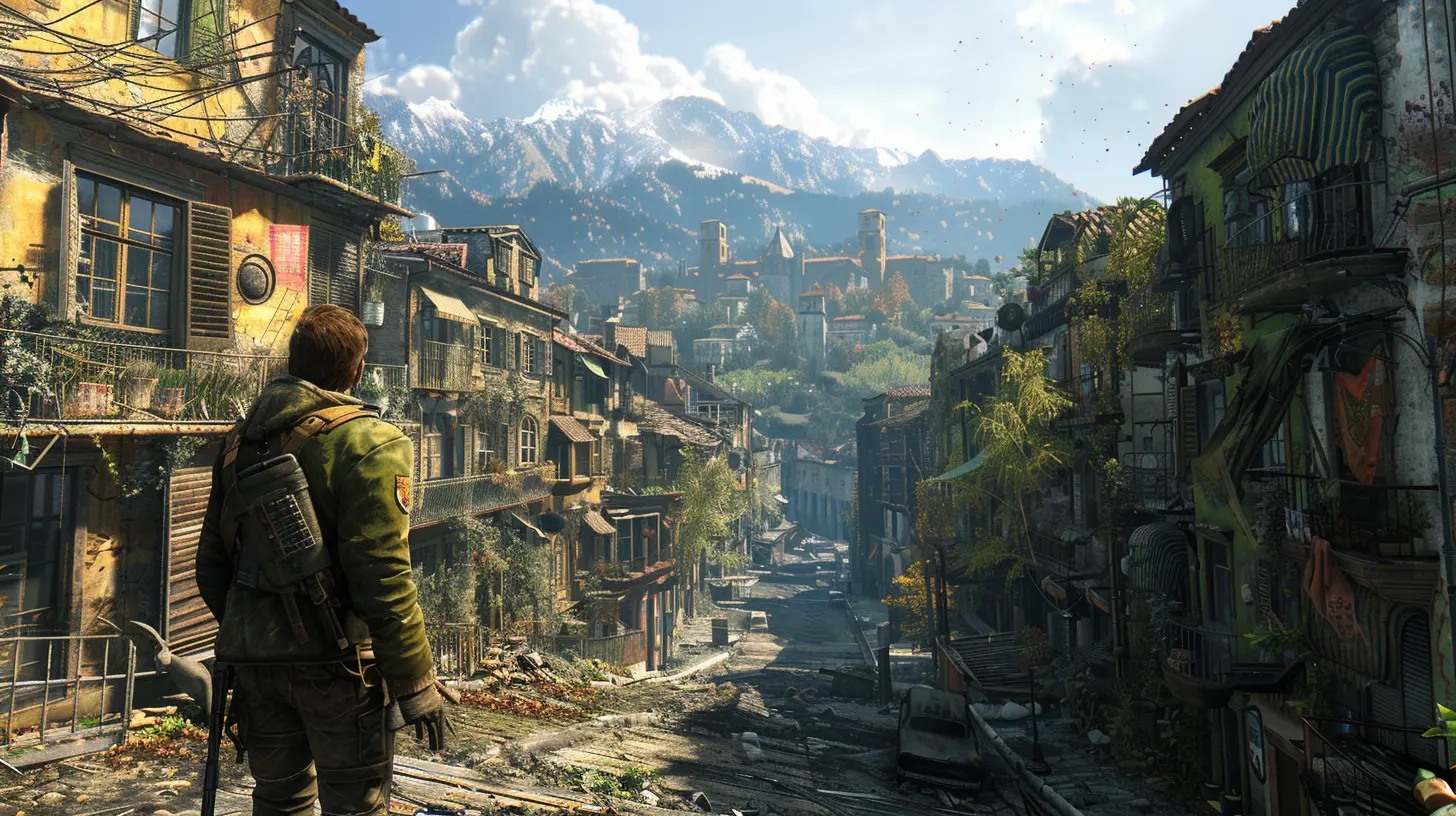
Step 3: Prioritize the Most Impactful Settings
Here’s the truth: not all graphics settings are created equal. Some wreck your FPS like a wrecking ball, while others barely make a dent. Let’s break down the big ones:🟥 High Impact Settings (Major FPS Hitters)
These should be the first on the chopping block if your FPS is suffering.1. Shadow Quality
Fancy shadows look awesome but are some of the worst FPS hogs out there. Dropping from Ultra to Medium or Low can give you a huge boost without ruining immersion.2. Anti-Aliasing (AA)
This smooths jagged edges but can annihilate performance depending on the technique used (looking at you, MSAA). Try FXAA or TAA for a lighter alternative, or even turn it off if you can tolerate a little jagginess.3. Ray Tracing
This tech makes lighting ultra-realistic, but it’s also ultra-demanding. Unless you're rocking an RTX 30 or 40-series GPU, consider disabling it or reducing the effect.4. Volumetric Lighting & Fog
These make lighting more realistic, especially in foggy or dusty environments, but cost a lot in frames. Dial it down unless you're willing to trade performance.🟨 Medium Impact Settings (Balance Carefully)
These settings give you some wiggle room. Adjust depending on preference.1. Texture Quality
This depends heavily on your VRAM. If you’ve got 6GB or more, you can keep it High. Just monitor your RAM usage.2. Ambient Occlusion
It adds depth to lighting but can be moderately taxing. Dial it down if shadows feel heavy.3. Draw Distance / Level of Detail (LOD)
The further you're asking your game to render, the more work your GPU has to do. Scaling this back to Medium or High can help balance visuals and performance.🟩 Low Impact Settings (Won’t Kill FPS)
These can often be left on high without noticeable frame drops.1. Anisotropic Filtering
Affects texture clarity at angles. It’s a low-cost visual improvement—keep it at 8x or even maxed out.2. Vegetation / Grass Detail
These might look cool when you're walking through fields, but their impact is typically minor unless you're in open-world games.3. Reflections
Unless you're swimming in puddles or glass buildings, this isn't as demanding in most titles.Step 4: Use Performance Monitoring Tools
Ever felt like you were just guessing? Stop that! Tools like MSI Afterburner, Rivatuner, or the Xbox Game Bar for Windows 10/11 allow you to monitor your FPS, CPU & GPU usage, temperature, and more in real time.What to look for:
- GPU Usage near 100%? Your graphics card is the bottleneck.- CPU Usage maxed out? Your processor may be holding your FPS back.
- RAM Usage high? Time to close background apps or consider an upgrade.
Step 5: Enable DLSS, FSR, or XeSS (If Available)
Modern upscaling tech is a game-changer. It’s like turning water into wine for your framerate.⚙️ What Are They?
- DLSS (NVIDIA) – Uses AI to upscale lower-resolution images.- FSR (AMD) – Similar to DLSS but works on more hardware types.
- XeSS (Intel) – Intel’s version of upscaling.
When enabled, these technologies render your game at a lower resolution and upscale it using fancy algorithms. The result? Better FPS, with visuals nearly indistinguishable from native resolution.
Step 6: Lower Your Resolution (As a Last Resort)
Okay, nobody wants to do this, but desperate times call for desperate measures.Dropping resolution from 1440p to 1080p or 1080p to 900p can significantly boost FPS. Yes, it’ll hurt a bit visually, but it’s often worth it if nothing else works.
Pro Tip: If your screen supports it, enabling "Resolution Scaling" in your game’s settings can do this dynamically—some games let you go down by a percentage (like rendering at 90% of native).
Step 7: Tweak Windows and Background Apps
This one’s low-hanging fruit. You’d be surprised how much a bloated background can hurt performance.Quick Fixes:
- Turn off overlays (Discord, Steam, NVIDIA GeForce Experience).- Set game to High Performance Mode in Windows power settings.
- Disable Game Mode in Windows settings if it’s causing issues.
- Update Drivers — Obvious, but often overlooked. New GPU drivers can give you massive performance boosts.
Step 8: Save and Compare
Don’t just tweak blindly. After each change, test with a quick benchmark or play a demanding in-game segment. Keep notes or screenshots of what worked best.Some games let you save multiple graphic profiles—use them! Create one for performance, one for quality, and one for balanced gameplay.
Bonus Tips for Laptop Gamers
Laptops are notoriously more limited, but fear not—you can still squeeze out decent performance.- Plug it in! Don’t game on battery.
- Use manufacturer software (like Alienware Command Center or MSI Dragon Center) to activate a performance profile.
- Clean your vents! Overheating = throttling = sad FPS.
Final Words: It's All About Balance
Optimizing your graphics settings is like fine-tuning a musical instrument. Too much bass (aka Ultra settings) and it booms but sounds muddy. Too little, and it’s all treble—clear but cold.Tweak, test, and repeat until you find that perfect harmony between good looks and smooth performance. And remember, no one’s watching. If you gotta drop shadows to Low for stable 60 FPS, go for it. Your game, your rules.
Now go on—hit that sweet 60 (or 144) FPS mark and enjoy the beautiful madness of your favorite games!
all images in this post were generated using AI tools
Category:
Game GuidesAuthor:

Leandro Banks
Discussion
rate this article
2 comments
Edith McWilliams
Great tips! Excited to enhance my gaming experience without sacrificing performance!
March 30, 2026 at 3:33 PM
Leandro Banks
Thank you! I'm glad you found the tips helpful—enjoy your enhanced gaming experience!
Lulu McCollum
Great tips! Performance boost without sacrificing visuals.
October 26, 2025 at 3:15 AM
Leandro Banks
Thank you! I'm glad you found the tips helpful!